
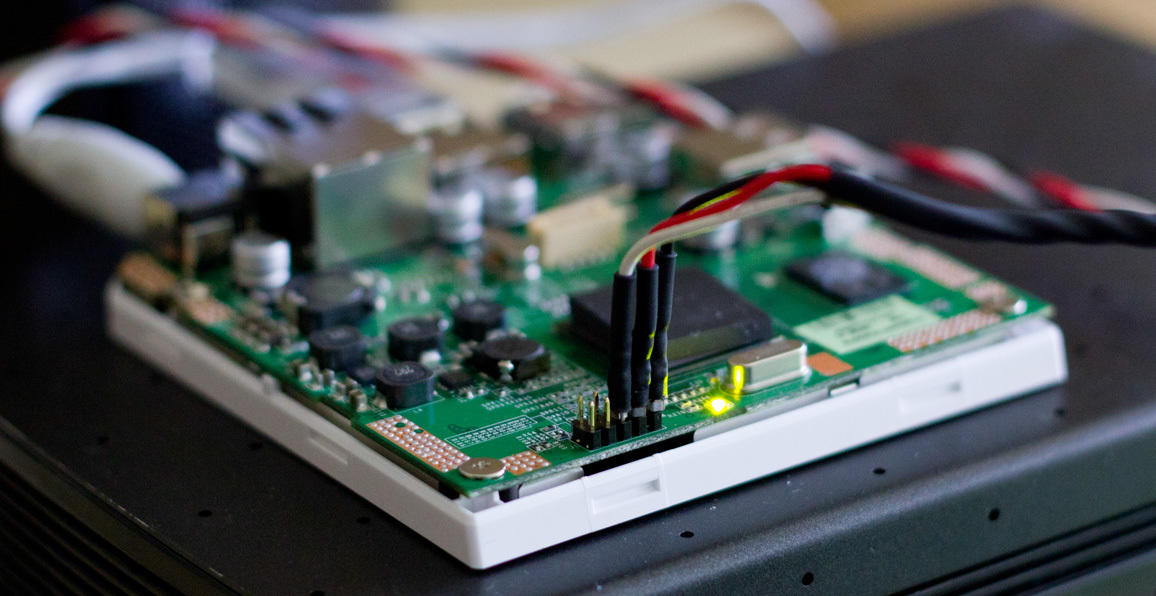
Normally you should be able to manage the dockstar over the ethernet, but what if you can’t establish no connection because you did something wrong? There is a serial connector inside the device we can use for debugging and other things.
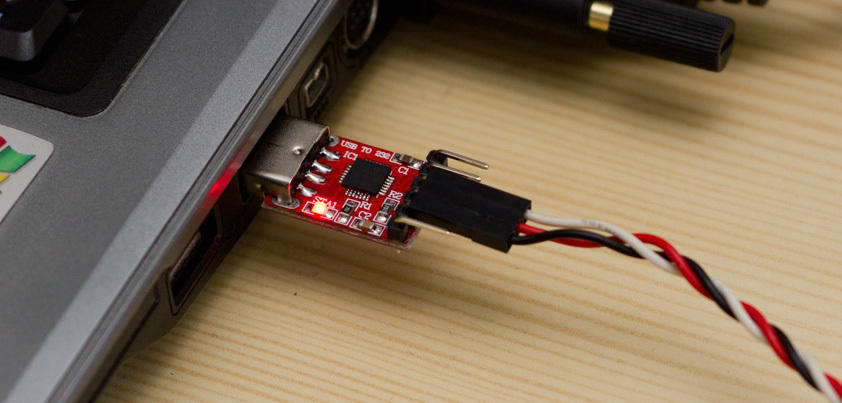
1. Required: USB to TTL bridge
Some weeks ago I ordered an USB to TTL UART bridge on eBay, just to have it if I will need it. You also can buy it on amazon: USB2.0 an TTL UART 6pin Konverter seriell CP2102 ID9372 PAUB022 Here are some technical specifications of the one I bought:
All handshaking and modem interface signals
Data formats supported: 8-bit; 1 Stop bit
Parity: Odd, Even, No Parity
Baud rates: 300 bps to 921.6 kbps
512 byte receive buffer; 512 byte transmit buffer
Hardware X-On/X-Off handshaking
Event character support
6 Pins: 3.3V, RST, TxD, RxD, GND, 5V
2. Make the Physical Connection
In order to connect it to the dockstar I took a 3-pin cable off an old computer case and soldered connectors at the end of the wires and protected them with heat shrink tube against short. The pinout of the dockstar’s plug looks like this:
Dockstar plug J1 10 pin, Serial Link / JTAG (Pin counting pairwise)
| function | name | pin | pin | name | function | color | RS232 |
|---|---|---|---|---|---|---|---|
| output | VCC | 1 | 2 | GND | blk | ||
| Test Reset, active low | TRST | 3 | 4 | TxD | 3.3 V | red | |
| Test Data Input | TDI | 5 | 6 | RxD | 3.3 V | wht | |
| Test Mode Select | TMS | 7 | 8 | SRST | System Reset, active low | ||
| Test Clock | TCK | 9 | 10 | TDO | Test Data Output |
You need GND (black wired in the pictures), TxD (red) and RxD (white).
Today I decided to test it on my second dockstar and to take a look at the boot output. When everything is connected correctly it looks as follows.
3. Establish the Serial Connection
Now you are ready to connect to the dockstar with any tool of your choise.
3.1 Windows
In Windows I utilize Putty to do that. Choose the right COM port and set the baud-rate to 115200 and turn off flow control. Once you started the session start up the dockstar and you will see the boot output. You will also be able to run commands.
3.2 Linux
To do that in linux I simply use screen with
screen /dev/ttyUSB0 115200
to engage the connection. Same as in Putty, you should see outputs and be able to interact by running commands.